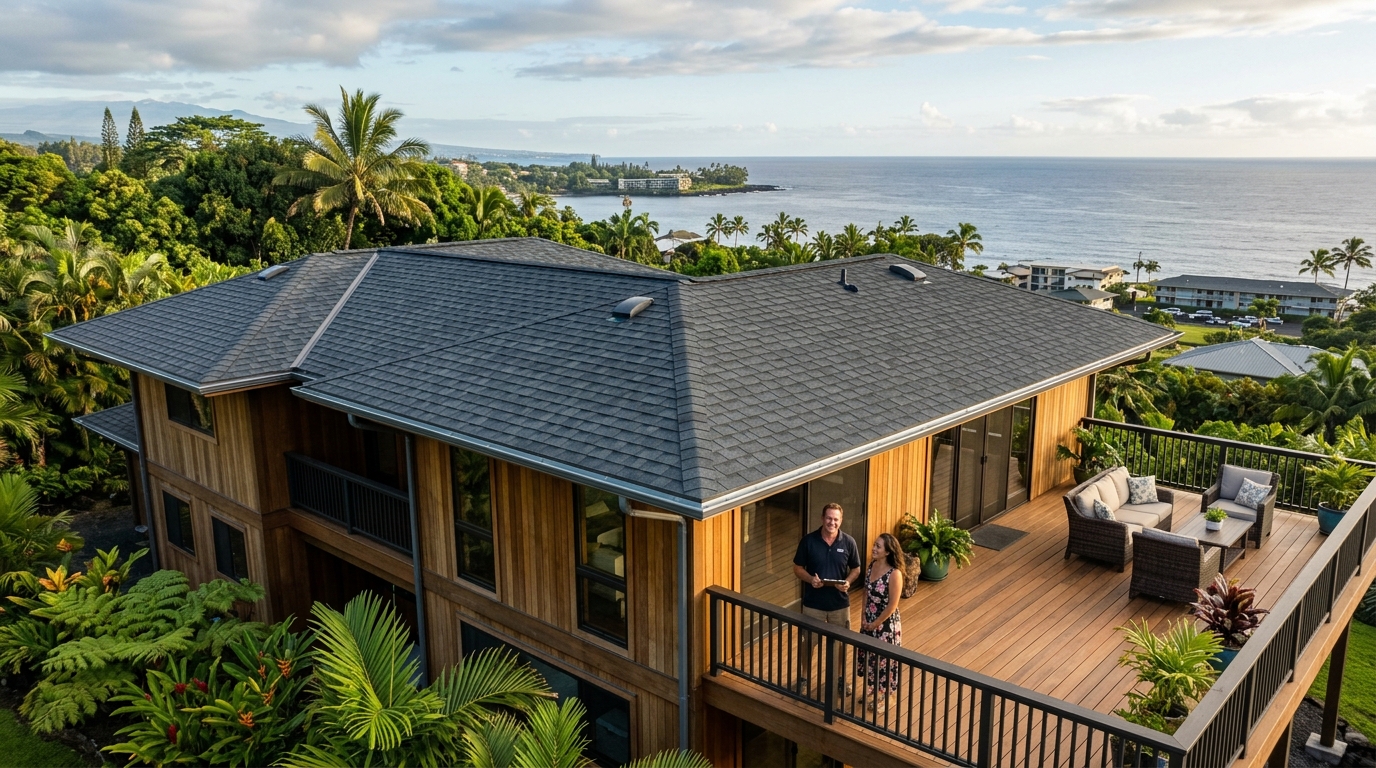
When you need a roofing contractor in Hilo, you’re not just looking for someone to nail down shingles. You’re looking for a partner who understands the unique challenges of building on the windward side of the Big Island. With over 130 inches of rain a year, persistent humidity, and the ever-present threat of hurricanes, a Hilo roof has to work harder than almost anywhere else in the country. At Warrior Construction, we’ve spent more than two decades installing, repairing, and replacing roofs across Hawaii, and we know exactly what it takes to build a system that lasts in this beautiful but demanding environment.
The biggest mistake we see homeowners make is underestimating Hilo’s climate. A roofer from the mainland, or even from the dry side in Kona, might not appreciate how quickly metal fasteners can corrode here or how aggressively moss and mildew can take hold. Choosing the right materials and, more importantly, the right installation techniques is everything. This isn’t just about keeping the water out today; it’s about ensuring your roof is a sound investment that protects your home and family for decades. It requires a deep understanding of tropical roofing best practices, from high-performance underlayment to specialized flashing techniques that can stand up to driving rain.
In this guide, our team will walk you through the essential things every Hilo homeowner should know before hiring a contractor. We’ll break down realistic 2026 costs, explain the permitting process on the Big Island, and cover the specific material choices that make the most sense for our climate. Ultimately, you’ll gain the confidence to ask the right questions and choose a crew that has the local experience to get the job done right the first time.
Why Hilo Homeowners Trust Warrior Construction for Roofing Contractor
Choosing a roofing contractor in Hilo goes beyond a simple license check. It’s about finding a team with a proven track record of building roofs that can withstand the specific, relentless pressures of East Hawai’i’s weather. For over 20 years, Warrior Construction has been that team for countless homeowners. Our license, BC-34373, is more than just a number; it represents two decades of on-the-ground experience, navigating everything from the fine details of hurricane code to the logistical challenges of getting materials to the Big Island efficiently. We aren’t a mainland company with a local PO box; we live here, we build here, and our reputation is on every job site.
One of the key reasons clients trust us is our deep understanding of tropical roofing systems. For example, on a recent project near Rainbow Falls, the homeowner was considering standard galvanized nails to save a few hundred dollars. We strongly advised against it, showing them photos from another Hilo job where similar fasteners had started to rust and streak the roof within just five years due to the constant moisture and air quality. We specified stainless steel ring shank nails instead. It’s a small detail, but it’s the difference between a roof that looks good for a few years and one that performs for thirty. This is the kind of localized expertise that prevents costly future repairs.
Furthermore, as a full-service general contractor, we see the bigger picture. A roof isn’t an isolated component; it’s part of an integrated system that includes your home’s framing, ventilation, and structural integrity. When we assess a roof for a replacement, we’re also looking for signs of related issues like termite damage in the rafters, poor attic ventilation that could lead to mold, or structural straps that don’t meet current hurricane standards. We had a case in Waiākea where a simple roof replacement turned into a critical structural upgrade after we discovered the original builder hadn’t installed proper hurricane ties. Catching that during the roofing phase saved the homeowner from a potential disaster down the road. Our holistic approach ensures that the work we do doesn’t just fix a leak, but enhances the overall health and safety of your home.
What sets our team apart:
- Local Hilo Experience: We understand the specific challenges, from managing rain delays to selecting materials that resist moss and mildew.
- Transparent Quoting: Our estimates are detailed and itemized. You’ll see costs for materials, labor, shipping, and disposal, with no hidden fees.
- Logistical Mastery: We have established relationships with suppliers and shippers, which helps us minimize delays and manage the complexities of inter-island freight for our Big Island clients.
- Safety First: Our crews are fully insured and follow strict safety protocols, protecting both our team and your property throughout the project.
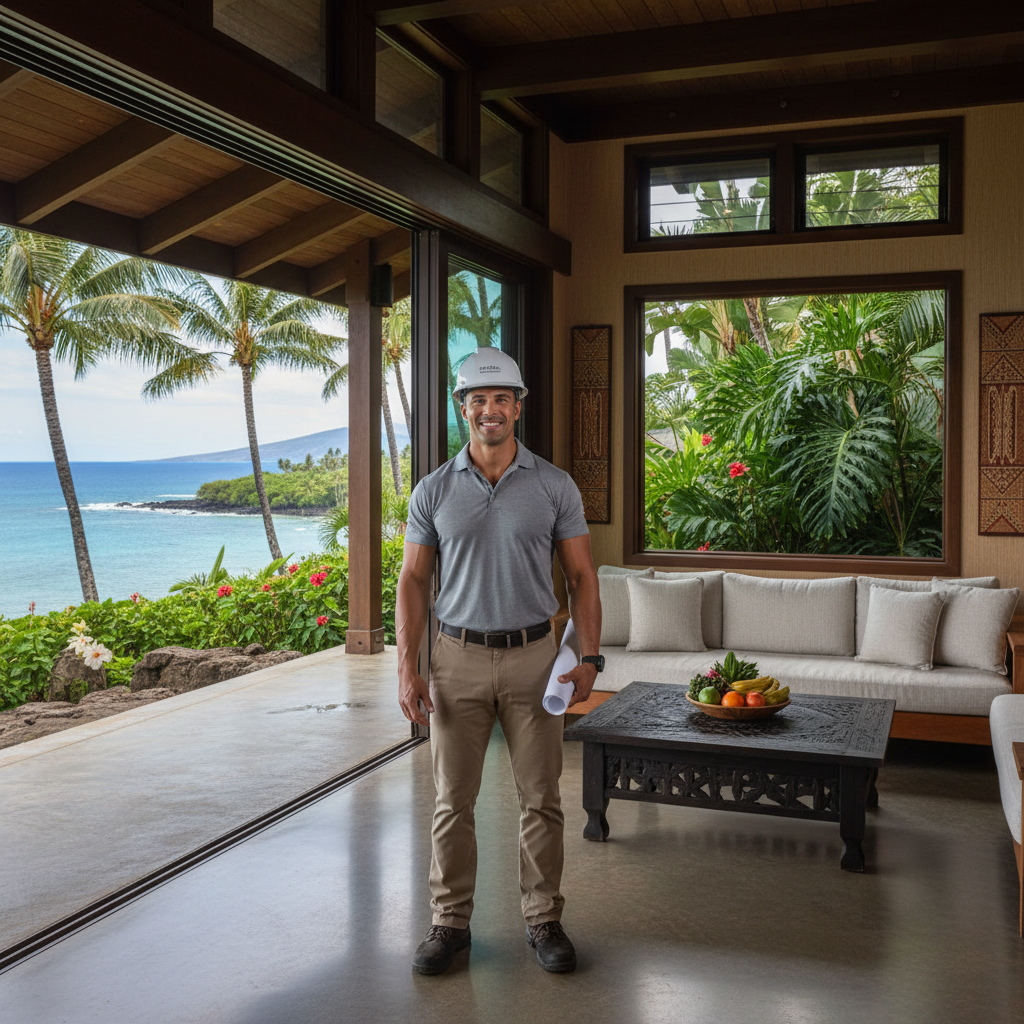
Ultimately, homeowners choose Warrior Construction because we provide peace of mind. They know our team will be there from the initial inspection to the final walkthrough, ensuring every detail is handled with professionalism and a commitment to quality that is second to none.
What Does Roofing Contractor Cost in Hilo?
In 2026, the average cost for a professional roof replacement in Hilo is between $14 and $22 per square foot, installed. For a typical 1,800-square-foot single-story home, this translates to a total project cost of approximately $25,200 to $39,600. It’s crucial to understand that this is an all-in cost, covering not just materials but also labor, tear-off of the old roof, waste disposal, underlayment, flashing, and Big Island-specific logistical costs. Be very wary of any contractor who gives you a significantly lower price without a detailed explanation; they are likely cutting corners on materials, insurance, or labor.
The biggest factor driving the cost is your choice of roofing material. Each has its pros and cons, especially in Hilo’s wet climate. Our team has installed thousands of roofs, and we’ve seen what works and what doesn’t over the long term. Here’s a breakdown of the most common options and their installed costs per square foot for 2026:
- Architectural Asphalt Shingles: This is the most common and budget-friendly option, costing around $14 – $18 per square foot. For Hilo, we only recommend shingles that have an algae-resistant coating (like Scotchgard™ Protector) to combat the inevitable moss and dark streaks. While affordable, their lifespan here is often shorter, around 15-20 years, due to the intense sun and rain.
- Standing Seam Metal Roofing (24-gauge): This is our most recommended option for tropical roofing in Hilo. It costs more upfront, typically $18 – $25 per square foot, but its longevity is unmatched. A properly installed metal roof with a Kynar 500 finish can last 50 years or more. It sheds rain effortlessly, resists moss growth, and provides excellent performance in high winds. The higher cost is an investment in durability and peace of mind.
- Corrugated Metal Roofing: A more economical metal option, corrugated roofs run about $16 – $20 per square foot. They offer good durability but can be more prone to leaks around fasteners if not installed perfectly. This is a common choice for agricultural buildings or more rustic homes.
Beyond the material itself, several other factors influence the final price. A steep roof pitch (over 6/12) requires more safety equipment and slower work, increasing labor costs by 10-15%. Multiple stories, skylights, and complex roof shapes with many valleys and dormers also add to the complexity and cost. A critical, often overlooked cost is the potential for discovering rotten wood sheathing or fascia boards after the old roof is torn off. We typically include a contingency in our quotes for replacing a certain amount of plywood (e.g., three sheets of 1/2″ CDX plywood at $95/sheet, installed) so there are no surprises.
Sample Cost Breakdown: 1,800 sq. ft. Standing Seam Metal Roof Replacement in Hilo (2026)
| Item | Description | Estimated Cost |
|---|---|---|
| Materials | 24-gauge standing seam panels, clips, underlayment, flashing, stainless fasteners, vents | $16,500 |
| Labor | Tear-off, installation, site prep, and cleanup for a 4-person crew | $12,800 |
| Logistics & Disposal | Barge shipping from Oahu, Big Island trucking, landfill fees | $2,500 |
| Permits & Fees | Hawaiʻi County building permit | $750 |
| Contingency | Allowance for replacing up to 3 sheets of rotten plywood sheathing | $285 |
| Total Estimated Cost | $32,835 |
Before you commit, get a detailed, written estimate from any roofing contractor in Hilo you’re considering. It should clearly separate material costs from labor and other fees. This transparency is the first sign you’re dealing with a professional.
How Long Does a Roofing Contractor Take in Hilo?
For a standard single-family home in Hilo (around 1,500-2,500 square feet), the on-site work for a full roof replacement typically takes 5 to 10 working days. However, the total project timeline from signing the contract to the final inspection is much longer, usually ranging from 4 to 8 weeks. The biggest variable, without a doubt, is the weather. In Hilo, where passing showers are a daily occurrence, we have to build buffer days into every schedule. You can’t tear off an entire roof if there’s a 70% chance of a downpour in the afternoon.
The pre-construction phase is where most of the timeline is spent. This involves several critical steps that can’t be rushed. For example, on a recent project in Kea’au, the special-order color for the standing seam metal roof had a 3-week lead time from the manufacturer on the mainland, plus another 7 days for the barge journey to Hilo. This is a reality of building on the Big Island that homeowners need to anticipate. A professional roofing contractor will manage these logistics proactively, ordering materials well in advance.
Here’s a realistic timeline for a Hilo roof replacement in 2026:
- Week 1: Contract & Permitting. After you sign the contract, we immediately begin the process of drafting the plans and submitting the building permit application to the Hawaiʻi County Department of Public Works.
- Weeks 2-4: Permitting & Material Ordering. The county’s permit review can take anywhere from two to four weeks for a straightforward roofing project. As soon as the contract is signed, we place the order for your primary roofing materials. This lead time often runs parallel to the permit review.
- Week 5: Material Arrival & Staging. Materials arrive at the port of Hilo and are trucked to your property. Our crew stages everything, including setting up safety lines, protecting landscaping with tarps, and positioning the dumpster for debris.
- Week 6 (Days 1-2): Tear-Off and Inspection. This is the moment of truth. The crew removes all old roofing material down to the wood sheathing. We then conduct a thorough inspection of the deck for any rot, termite damage, or structural issues that need to be addressed.
- Week 6 (Days 3-6): Installation. This is the main phase. The crew installs the new underlayment, drip edges, flashing, and the primary roofing material (shingles or metal panels). This requires meticulous attention to detail, especially around vents, chimneys, and valleys.
- Week 7 (Day 7): Finishing & Cleanup. The final details are completed, such as installing ridge caps and vents. The crew then performs a thorough cleanup of the entire property, including using magnetic rollers to pick up any stray nails.
- Week 7 (Day 8): Inspections & Final Walkthrough. We schedule the final inspection with the county building inspector. Once the project passes inspection, we conduct a final walkthrough with you to ensure you are 100% satisfied with the work.
The most important factor in keeping a project on track is communication. Our project managers provide regular updates, especially concerning weather delays. If we see a week of solid rain in the forecast, we won’t start the tear-off. A good contractor prioritizes keeping your home watertight over rushing to finish a day early. This patient, methodical approach is essential for a successful roof repair in Hilo or a full replacement.
What Permits Do You Need for Roofing Contractor in Hilo?
For almost any roof replacement project in Hilo, a building permit from the Hawaiʻi County Department of Public Works (DPW) is mandatory. This is not just a piece of paperwork; it’s a critical consumer protection measure. A permit ensures that the work is planned to meet current building codes—especially important for hurricane-readiness—and will be inspected by a county official upon completion. As a licensed general contractor, we handle the entire permitting process for our clients. A contractor who suggests skipping the permit to save money is a major red flag and should be avoided at all costs. Unpermitted work can lead to fines, difficulty selling your home, and denial of insurance claims.
You generally need a permit if you are doing a full tear-off and replacement. The threshold is typically if you are replacing the waterproof membrane or underlayment. If you’re just replacing a few missing shingles or performing a small roof repair in Hilo on a limited section, a permit may not be required. However, the rules can be nuanced. The safest approach is always to assume you need one and let your contractor confirm with the DPW. The permit application process on the Big Island, while not as lengthy as in Honolulu, still requires detailed plans showing the type of materials, fastening patterns, and flashing details to prove compliance with the latest building codes.
The permit process serves several key functions:
- Code Compliance: The building code includes specific requirements for roofing in high-wind hurricane zones. The permit plan review verifies that your new roof will have the correct nail patterns, hurricane straps, and underlayment to withstand uplift forces.
- Independent Inspection: A county inspector will visit the site at least once, typically after the underlayment is down and before the final roofing is installed, and then again upon completion. This third-party verification ensures the contractor didn’t cut corners. It’s an extra layer of quality control for the homeowner.
- Record of Work: A finalized, permitted project is recorded in the county’s property records. This is crucial for future real estate transactions, as buyers and lenders will verify that major work was done legally.
The cost of a roofing permit in Hawaiʻi County is based on the total valuation of the project. For a typical $30,000 roof replacement in 2026, you can expect the permit fee to be in the range of $600 to $900. While this may seem like a significant cost, it’s a small price to pay for the assurance that your roof—your home’s primary defense against the elements—is built correctly and to the highest safety standards. The process of getting a permit is something your chosen roofing contractor in Hilo should be an expert at. They will know exactly what information the plan reviewers at the DPW need to see, which helps avoid unnecessary delays. We often reference the procedures used by Honolulu’s Department of Planning and Permitting[1] as a best-practice model for preparing clear and complete applications that get approved efficiently.
Hilo-Specific Considerations: Climate, Materials, Regulations
Doing a roof in Hilo is fundamentally different from doing one in Honolulu, Kailua, or even Kona. The relentless rain, high humidity, and lush vegetation create a micro-environment that is incredibly tough on building materials. A successful roof here isn’t just installed; it’s engineered specifically for these conditions. After decades of working on the Big Island, our team has developed a set of best practices that we consider non-negotiable for any Hilo project.
First and foremost is moisture management. With an average of 130-200 inches of rain annually, water will find any weakness. This is why we place such a heavy emphasis on the secondary water barrier: the underlayment. We exclusively use high-performance synthetic underlayment, not standard felt paper. It’s more tear-resistant, provides better traction for our crews during installation, and can be left exposed to the weather for longer periods if a sudden rainstorm hits mid-project. Furthermore, we use ice-and-water shield products in all valleys and around all penetrations (vents, pipes, skylights). This self-adhering membrane provides a critical extra layer of protection in the most vulnerable areas.
Next is material selection for fighting biological growth. The combination of shade from mango and ʻōhiʻa trees, constant moisture, and warm temperatures makes Hilo roofs an ideal breeding ground for moss, algae, and lichen. This isn’t just a cosmetic issue; these growths can trap moisture against the roof surface, accelerating deterioration.
- For asphalt shingles: We insist on using shingles with copper granules woven in, which are specifically designed to be algae-resistant (AR). The copper slowly leaches out over time, creating an environment where algae cannot thrive.
- For metal roofing: A high-quality standing seam metal roof is naturally resistant to growth. Its smooth surface provides nothing for moss to grip onto, and the constant rain effectively washes it clean. This is a primary reason we so often recommend metal for tropical roofing in Hilo.
Corrosion is another major factor. While Hilo isn’t right on the breaking surf like parts of the Puna coast, the air still carries a salt content that is highly corrosive to metal. Every single fastener—every nail, screw, and clip—used on a Hilo roof must be stainless steel or high-grade, hot-dip galvanized. Using cheaper electro-galvanized fasteners is one of the most common shortcuts we see from less experienced contractors. They will begin to rust within a few years, leaving ugly streaks on the roof and eventually failing, creating a potential leak point.
Finally, we have to consider the high-wind and hurricane code requirements. Since Hurricane Iniki, Hawaii’s building codes have become much stricter regarding wind resistance. For Hilo roofs, this means:
- Enhanced Fastening: Shingles require six nails per shingle instead of the standard four. Metal panels require specific clip spacing and screw patterns to prevent wind uplift.
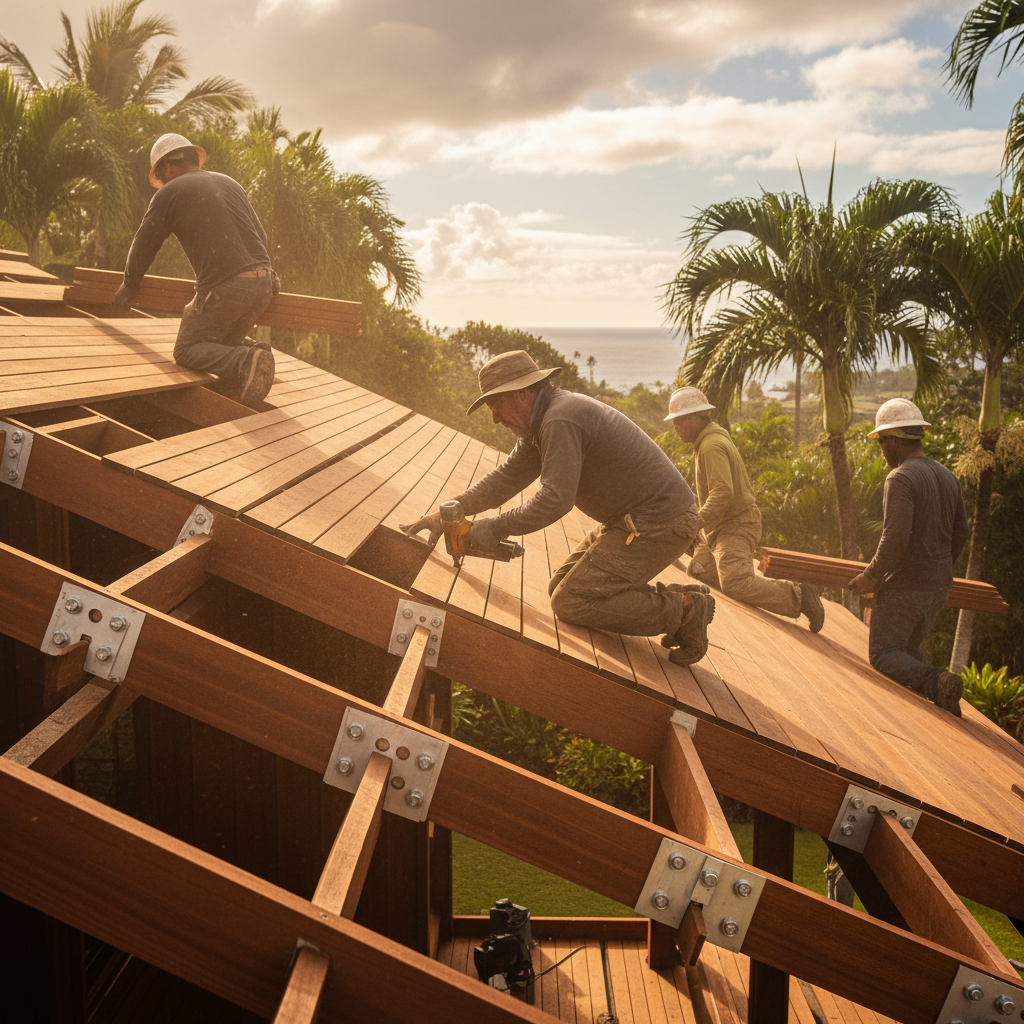
- Deck Attachment: We must verify that the roof sheathing (the plywood deck) is properly nailed to the roof trusses. Code often requires 8d ring-shank nails spaced every 6 inches on the edges and 12 inches in the field.
- Structural Connections: We also check the truss-to-wall connections, ensuring that proper hurricane clips or straps are installed to tie the roof structure firmly to the rest of the house.
Choosing a contractor who understands these Hilo-specific nuances is the single most important decision you will make for your roofing project.
How to Choose the Right Roofing Contractor Contractor in Hilo
Finding a reliable roofing contractor in Hilo requires more than a quick search online. You need to do your homework to ensure you’re hiring a legitimate, experienced, and professional company that will stand behind their work. The consequences of hiring the wrong crew can be disastrous, leading to leaks, costly repairs, and even structural damage. Here is a step-by-step guide our team at Warrior Construction recommends to every homeowner.
1. Verify Their License and Insurance.
This is the absolute first step. Any contractor performing work valued at over $1,000 in Hawaii must have a valid contractor’s license. You can and should verify this using the state’s Professional & Vocational Licensing (PVL) search tool[2]. Our license is BC-34373. A valid license means the contractor has met state requirements for experience and testing. Equally important, ask for proof of general liability insurance and workers’ compensation insurance. If a worker gets injured on your property and the contractor isn’t insured, you could be held liable. Do not accept a contractor’s word for it; ask for the certificate of insurance.
2. Insist on Local, Relevant Experience.
A license is just the beginning. You need a contractor who has specific experience with Hilo’s unique climate. Ask them direct questions:
- “How many roof replacements have you completed in the Hilo or Puna area in the last year?”
- “What specific underlayment and fasteners do you recommend for our high-rainfall environment, and why?”
- “How do you handle project scheduling and site protection around Hilo’s unpredictable rain showers?”
A contractor who gives vague answers is a warning sign. An experienced local roofer will be able to talk at length about using stainless steel fasteners, synthetic underlayment, and algae-resistant shingles.
3. Get Everything in Writing.
A professional contractor will provide a detailed, itemized proposal. It should not be a one-page estimate with a single number. The proposal should clearly outline:
- The full scope of work, including tear-off, sheathing inspection/replacement allowance, and installation.
- The exact materials to be used (e.g., “GAF Timberline HDZ Algae-Resistant Shingles in Charcoal,” not just “shingles”).
- The project timeline, including start and estimated completion dates.
- A clear payment schedule. Never pay for the entire project upfront. A typical schedule might be 10% on signing, 40% on material delivery, 40% on substantial completion, and 10% on final inspection approval.
- Details on the workmanship warranty.
4. Check References and Past Work.
Don’t just rely on testimonials on their website. Ask for the addresses of a few recent projects they’ve completed in your area. Take a drive by to see the quality of their work. A clean job site and straight, uniform lines on the finished roof are good indicators of professionalism. Call a few of their recent clients and ask about their experience. Were they communicative? Did they stick to the budget? How did they handle unexpected issues?
By following these steps, you can significantly reduce your risk and find a qualified roofing contractor in Hilo who will protect your home for years to come. It’s a process that takes time, but it’s one of the most important investments you’ll make in your property.
Real Hilo Roofing Contractor Project Example
To illustrate what a professional roofing project looks like in practice, let’s walk through a recent roof replacement our team completed for a family in the Kaumana area of Hilo. The home was a classic 1980s single-story, about 2,200 square feet, with its original asphalt shingle roof. The old roof was in bad shape—covered in a thick layer of moss, with shingles that were curling, cracked, and losing granules. The homeowner was experiencing several small leaks and knew it was time for a full replacement before the next big storm season.
The Challenge: The primary challenges were typical for Hilo. The original roof had been installed directly over skip sheathing (planks with gaps in between), which is not a suitable substrate for modern shingles or metal roofing. Additionally, years of trapped moisture from the moss had caused significant rot along the eaves and in one of the valleys. The homeowner wanted a long-term solution that would be low-maintenance and could stand up to the Kaumana rain.
Our Solution:
After discussing the options, we mutually decided that a 24-gauge standing seam metal roof with a Kynar 500 finish was the best long-term investment. It offered superior longevity, excellent resistance to biological growth, and a higher wind rating.
Here’s how the project unfolded over an 8-day on-site schedule:
- Days 1-2: Tear-Off & Resheeting. Our crew completely stripped the old roof down to the rafters. We then installed a new, solid deck using 5/8″ CDX plywood over the entire roof, creating a solid, uniform surface. This step was crucial for the performance of the new roof.
- Day 3: Structural Repairs. We replaced approximately 40 linear feet of rotted fascia board and 12 square feet of sub-fascia that had been damaged by water intrusion. We treated the new wood with a borate solution to protect against future termite and rot issues.
- Day 4: Underlayment & Flashing. We installed a high-temperature, self-adhering synthetic underlayment across the entire deck. We paid special attention to the flashing around the chimney and vent pipes, using custom-bent metal pieces sealed with high-grade elastomeric sealant.
- Days 5-7: Panel Installation. The standing seam metal panels, which had been custom-ordered and shipped to Hilo, were installed. Each panel was secured with hidden clips and stainless steel screws to prevent leaks and resist corrosion. We ensured proper ventilation by installing a continuous ridge vent.
- Day 8: Final Touches & Cleanup. The crew installed the final trim pieces and ridge cap. A comprehensive cleanup of the entire property was performed, followed by a final walkthrough with the homeowner to explain the system and answer any questions.
The Result: The project was completed on time and on budget. The total cost was approximately $41,500, which included the significant structural repairs and the full resheeting of the roof. The county inspector signed off on the final inspection without any issues. The homeowner now has a beautiful, durable roof that has significantly improved their home’s curb appeal and, more importantly, provides robust protection that will last for the next 50+ years.
What this means for Hawaii homeowners
Your roof is the single most important element protecting your home, your family, and everything you own from Hawaii’s powerful elements. For homeowners in Hilo, the stakes are even higher due to the extreme rainfall and humidity. Choosing the right materials and the right roofing contractor in Hilo isn’t just a home improvement project; it’s a critical investment in your property’s longevity and safety. The difference between a properly installed roof and a subpar one can mean thousands of dollars in future water damage repairs, mold remediation, and structural issues.
The key takeaway is that you cannot apply mainland or even dry-side Kona logic to a Hilo roofing project. The environment is simply too demanding. Cutting corners on materials like fasteners or underlayment to save a small percentage on the upfront cost is a recipe for premature failure. A roof that might last 30 years in a dry climate could fail in less than 15 here if not built with Hilo-specific techniques.
Here are your actionable steps for 2026:
- Budget for Quality: Plan for a professionally installed roof to cost between $14 and $25 per square foot. If you are planning a roof replacement in Hilo, investing in a standing seam metal roof, while more expensive initially, often provides the lowest lifetime cost.
- Prioritize Local Experience: When vetting contractors, focus on their portfolio of work specifically in East Hawai’i. Ask them to explain their strategies for moisture management and preventing corrosion.
- Insist on a Permit: Do not work with any contractor who suggests you can skip the permitting process with Hawai’i County. The permit and the inspections that come with it are your best guarantee of a code-compliant, safe installation.
- Read the Fine Print: A detailed, itemized contract that specifies all materials, costs, and warranties is non-negotiable. This document protects both you and the contractor and ensures there are no misunderstandings.
Taking the time to research and select a qualified, reputable contractor will give you peace of mind for decades to come, knowing your home is protected by a roof built to handle everything Hilo can throw at it.
Frequently Asked Questions About Roofing Contractor in Hilo
How often should I have my roof inspected in Hilo?
Due to the harsh climate, we recommend a professional roof inspection every 2 to 3 years, and always after a major storm event like a hurricane or tropical storm. Regular inspections can catch small problems like failed sealant around a vent pipe or a few loose shingles before they turn into major leaks and expensive interior damage. This proactive approach is key to maximizing your roof’s lifespan in our rainy environment.
Can I just put a new roof over my old one?
While it’s sometimes possible to do a layover (installing new shingles over an existing layer), we almost never recommend it in Hilo. A complete tear-off is the only way to properly inspect the underlying wood sheathing for rot or termite damage, which is very common here. It also allows for the installation of a new, continuous high-performance underlayment, which is your roof’s critical secondary line of defense against our heavy rains.
What is the best type of roof for Hilo’s rainy climate?
For durability and longevity in Hilo, a 24-gauge standing seam metal roof with a Kynar 500 or similar PVDF finish is the superior choice. It offers unmatched water-shedding capabilities, is highly resistant to wind, and its smooth surface prevents the moss and algae growth that plagues other roofing types. While the upfront cost is higher than asphalt shingles, its 50+ year lifespan makes it a better long-term investment.
How much does a simple roof repair in Hilo cost?
A minor roof repair in Hilo, such as replacing a few blown-off shingles, sealing a leaking vent flashing, or securing a loose piece of ridge cap, typically costs between $450 and $950 in 2026. The cost depends on the accessibility of the roof and the extent of the damage. For anything more than a small, localized issue, it’s often more cost-effective to consider a replacement, especially if the roof is over 15 years old.
Does my homeowner’s insurance cover a roof replacement?
Homeowner’s insurance typically covers roof replacement only if the damage was caused by a specific, sudden event (a “peril”) like a hurricane, a fire, or a fallen tree. It does not cover replacement due to old age, deferred maintenance, or general wear and tear from Hilo’s climate. It’s important to document any storm damage immediately with photos and contact your insurance agent to understand your policy’s coverage.
What’s the difference between a workmanship warranty and a material warranty?
A material warranty is provided by the manufacturer (e.g., GAF for shingles) and covers defects in the roofing material itself. A workmanship warranty is provided by the roofing contractor and covers issues arising from improper installation. In Hilo’s climate, a strong workmanship warranty of at least 5-10 years is critical, as installation errors are the leading cause of roof leaks and premature failure.
Your home’s roof is its first and most important line of defense. In a place as demanding as Hilo, ensuring it’s built to last is paramount. With two decades of experience as a trusted general contractor, our team at Warrior Construction has the expertise to deliver a roofing system that provides security and peace of mind. We manage every detail, from navigating Big Island logistics to ensuring every fastener meets our standards for corrosion resistance.
If you’re ready to invest in a roof that can truly handle Hawaii’s weather, our team is here to help. Learn more about our approach to hurricane-resistant construction or reach out today to schedule a comprehensive, no-obligation estimate for your Hilo home.